Grooming · Coat, Skin, and Paw Care
Musher's Secret
How and when to use paw wax for weather and terrain protection.
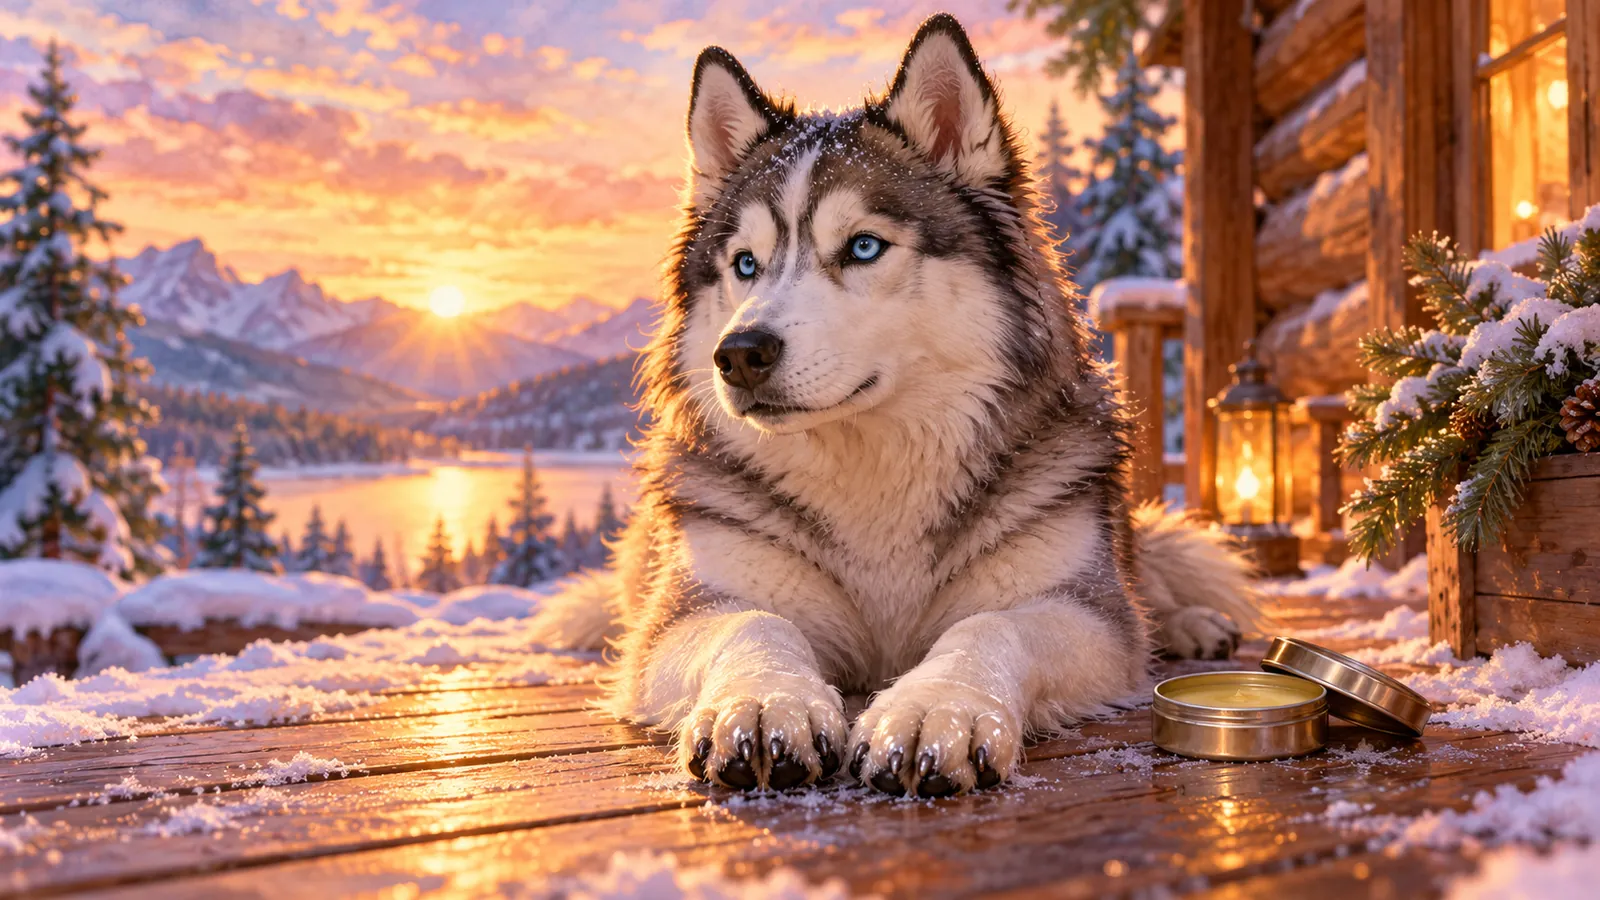
Musher's Secret is a well-known brand of paw wax, originally developed for sled dogs. Paw waxes and balms create a thin, breathable barrier on the pads that helps protect against snow, ice, road salt, hot pavement, and rough ground.
Paw wax is a protective tool, not a treatment. It is applied to healthy pads before exposure. It does not heal injuries, and it does not make scorching pavement safe.
A thin layer is enough. Applied correctly, it absorbs within a few minutes and does not leave a greasy trail through the house.
For long walks in very harsh conditions — deep snow, salted streets, very hot surfaces — booties offer more protection than wax. Many owners use both.
Care details
Applying a thin layer of protective paw wax before exposure to harsh weather or terrain.
Difficulty: Easy
Estimated time: 1-3 minutes
Frequency: Before walks in snow, ice, salted streets, hot pavement, or rough terrain; also weekly for dry pads.
Also called: paw wax, paw balm
Supplies: paw wax or balm, towel, treats
Breed / coat: Trim long paw fur first so the wax can reach the pads. Dogs with lots of fur between the toes are especially prone to ice balls in snow, which wax helps prevent.
Age: Useful at any age, including puppies and seniors with sensitive or dry pads.
Why it matters: Adds a temporary protective layer against weather, salt, and rough surfaces.
How to do it
1.Clean and dry the paws
Wipe off dirt and dry the pads thoroughly. Wax does not stick well to wet paws.
Done right: Pads are clean and dry.
Time: 1 minute
2.Apply a thin layer
Scoop a small amount onto your finger and rub it into each pad and between the toes. A little goes a long way.
Done right: Pads have a light sheen, not a thick coating.
Time: 1 minute
3.Let it absorb
Distract your dog with a treat or a chew for a couple of minutes while the wax absorbs.
Done right: Pads feel smooth rather than sticky.
Time: 2-3 minutes
4.Clean after the walk
Wipe paws when you get home to remove salt and grit, then reapply if pads look dry.
Done right: No salt or debris left on the paws.
Time: 2 minutes
Safety notes
Use thin layers and do not apply to broken, bleeding, or raw pads. Choose a product designed for dogs. Wax does not protect against dangerously hot surfaces — if the pavement is too hot for the back of your hand for 7 seconds, it is too hot for paws.
When to get help
Cracked, bleeding, blistered, or painful pads, or pads that don't improve with care.
Common mistakes
Applying too much
Why it happens: More seems safer
Fix: Use a thin layer. Excess wax picks up dirt and gets tracked through the house.
Applying to wet paws
Why it happens: Doing it after a walk without drying
Fix: Always dry the paws first.
Relying on wax for hot pavement
Why it happens: Assuming it works like a shield
Fix: Walk in the early morning or evening, and stay on grass in hot weather.
Troubleshooting
Dog licks the wax off
Likely cause: The dog notices the new texture
What to do: Distract with a chew for a few minutes while it absorbs.
Ice balls still form between toes
Likely cause: Long paw fur
What to do: Trim paw fur and consider booties for deep snow.
Pads stay cracked
Likely cause: Ongoing damage or an underlying condition
What to do: See your vet.